How to Bottle Your Own Beer

Beer isn’t just a drink; it’s an experience, a connection, and for many, pure joy in a glass. For beer lovers, getting their favorite beer is like heaven to them. For instance, if you get a favorite brand for your friend while on the go to their home for a weekend visit, he or she will be more than happy.
But what about craft beer? Perhaps you’ve already sampled the popular brews in your town. However, there is nothing like homebrewing if you know the steps and tricks. Think about it!
You can bottle your own beer! What can be more interesting than this? This is where you might find your hard work repaying. Maybe not for the first time, but regular homebrewing leads to the best taste you can ever sip in your life. From preparation to the usage of the right tool, homebrewing takes it all at once. When it comes to homebrewing, you cannot expect a sudden result but take all the responsibilities until the end.
Don’t worry! Here, you will find all the necessary steps to bottle your beer with ease and patience.
1. Gather Your Supplies
Before you start bottling, keep all the necessary ingredients and tools with you. Gather those, as you might need to use them on time to prepare the best version.
- Bottles
- Caps
- Capper
- Bottling bucket
- Priming sugar
- Siphon
- Bottle filler and sanitizer
Among all these ingredients, you must sanitize everything that will come in contact with beer. Therefore, bottling buckets, beer bottles, bottle caps, auto-siphon, and priming sugar are the tools that you need to sanitize first.
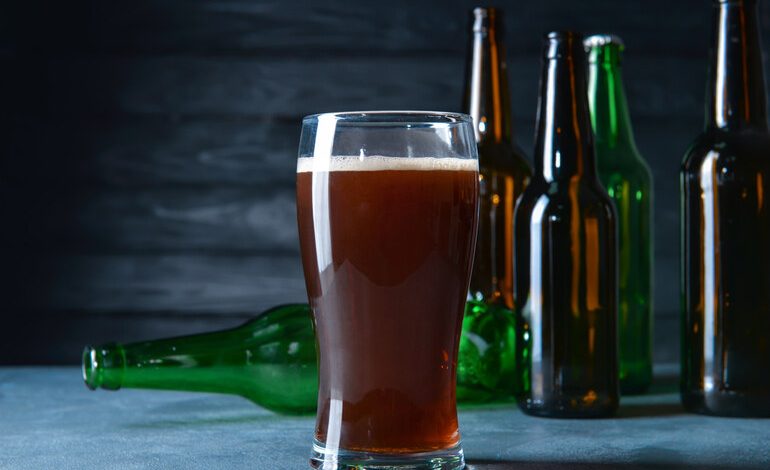
You can use either the green, brown, or clear bottle of your choice. However, the best choice will be to go for the brown one! Because the color will help you prevent light exposure which is a good solution for brewing beer.
Now, coming to the caps and capper portion, you will need to fit your bottles by using an automatic bottle capper as it helps seal the bottles effectively while saving much of your time.
Moreover, use a funnel to avoid spills. This will come in handy while pouring beer from a container into the ultimate bottle. Also, use a bottle brush to clean any present debris and use it repeatedly to get the pure solution. While making a solution, you must take care of its cleanliness.
Additionally, consider priming sugar to help carbonate your beer. This is it! You have got all you need, and now it’s time to go with the steps.
2. Sanitize Everything
We have already mentioned that sanitation is crucial in brewing. When you are determined to homebrew, make sure all the bottles you will use including caps and other equipment are properly sanitized.
There is no scope for compromise, and contamination may lead to serious health issues. While doing so, perform everything on your own and use a brewer’s sanitizer following the manufacturer’s instructions.
If you do not want to spoil your beer with bacteria, this step will give you enough safety.
3. Prepare Your Beer
Follow a proper fermentation procedure. Check out the YouTube tutorials, or consider going to a brew to understand the process. However, give it some time, become efficient, and check out if the fermentation is completed before pouring it into the bottle.
Usually in 1 to 2 weeks after fermentation starts you can start pouring into the bottle. However first-hand experience will be required to understand the condition.
Caution: Do not use expired yeast as it can cause incomplete fermentation. Therefore, your beer bottle can explode anytime after.
Pro tip: Racking is unrequired while considering fermentation for the 2nd time. Sometimes, due to the impurity of taste people go for this 2nd step. Hence, you can skip the racking step.
4. Mixing in Priming Sugar
This is going to be your prime test as a brewer. Homebrewing comes into terms with this step and you can enjoy this step instead of taking tension.
First, boil water and then dissolve your priming sugar (usually about ¾ cup for a 5-gallon batch) for about 10 minutes to ensure it’s fully incorporated.
Remember this solution, and the rest will be super easy. However, consider cooling after mixing. After it has gone to the normal temperature, you can pour it gently into the beer bottle. Always avoid situations where oxygen is high, as it may lead to flavor issues.
5. Start Bottling
Once the concentration is made and cooled, you are all set to use a funnel to fill the first bottle of your life.
Try to leave around an inch empty in the bottle after pouring the beer.
Carbonation is a common condition in such preparations, and you must give it space to allow expansion. Avoid headaches by just leaving the beer at the neck level.
6. Cap the Bottles
After that, simply remove the funnel and place a cap on top of the bottle. Here comes the importance of an automatic bottle capper to seal the deal! It helps firmly seal the bottle and maintains the carbonation for the rest of the time to keep the beer fresh and fine.
7. Store and Wait
After you have sealed all your beer bottles, it’s not yet done. Keep those bottles in a warm and dark place for at least 1-2 weeks.
Well, this is an exciting time when magic happens. If you want to savor the full flavor and fizziness of beer, store it in a dark place!
8. Chill and Enjoy
Once carbonation is complete, transfer your beer to the refrigerator to chill. Finally, you are ready to enjoy the fruits of your labor. Pour your beer carefully, ensuring the sediment at the bottom remains undisturbed.
Bottling your beer is not only a rewarding process but also an excellent way to demonstrate your brewing expertise. Therefore, grab those bottles and enjoy the result of your hard work. Cheers!!

